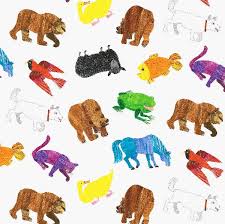
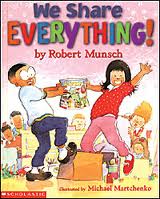
Picture books
Part 1) Critique: using picture books, following Feldman’s process of : 1. Description, 2. Analysis 3. Interpretation 4. Judgement
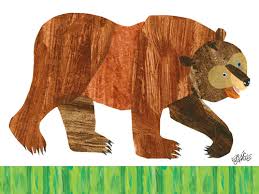
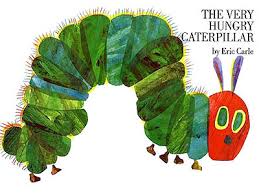
Part 2) Studio activity modeled on Eric Carl’s methods of illustration.
Art Criticism: Intended Learner Outcomes:
- Students will increase knowledge and understanding of visual elements, styles, and materials of book illustrations and be able to describe the
illustrations of selected books using language from art criticism
- Students will study the inquiry process of forming questions that move from description, analysis, interpretation and judgement about specific
pictures in selected children’s books.
- Students will understand the importance of association between the text and personal experience to create meaning.
Interpretation of book illustrations - asking the right questions to guide students through higher levels of perception and thinking. Students can work in pairs or in groups, after we discuss and question as a class.
Introduction
Whole class discussion to model questions that provoke students to critique the images. When beginning a class with a “discussion” write your questions ahead of time in your lesson plan in order to go beyond information and description to higher levels of thought.
Body
Jigsaw method: 20 min Pair/share in 7 groups of 2 –Each pair is given a book. Using the questions in this lesson plan as a guide, each partner becomes an expert on one book illustrated by different people. Choose the questions most appropriate for their book, and grade level. They make up their own questions to add to the ones suggested here, following the sequence from description to judgement. Divide into 2 groups of 7 where each student presents their book. Students will have to share their book with their partner in the other group. Each partner will present at a different time.
Part 1) Critique: using picture books, following Feldman’s process of : 1. Description, 2. Analysis 3. Interpretation 4. Judgement
Part 2) Studio activity modeled on Eric Carl’s methods of illustration.
Art Criticism: Intended Learner Outcomes:
- Students will increase knowledge and understanding of visual elements, styles, and materials of book illustrations and be able to describe the
illustrations of selected books using language from art criticism
- Students will study the inquiry process of forming questions that move from description, analysis, interpretation and judgement about specific
pictures in selected children’s books.
- Students will understand the importance of association between the text and personal experience to create meaning.
Interpretation of book illustrations - asking the right questions to guide students through higher levels of perception and thinking. Students can work in pairs or in groups, after we discuss and question as a class.
Introduction
Whole class discussion to model questions that provoke students to critique the images. When beginning a class with a “discussion” write your questions ahead of time in your lesson plan in order to go beyond information and description to higher levels of thought.
Body
Jigsaw method: 20 min Pair/share in 7 groups of 2 –Each pair is given a book. Using the questions in this lesson plan as a guide, each partner becomes an expert on one book illustrated by different people. Choose the questions most appropriate for their book, and grade level. They make up their own questions to add to the ones suggested here, following the sequence from description to judgement. Divide into 2 groups of 7 where each student presents their book. Students will have to share their book with their partner in the other group. Each partner will present at a different time.
Questions
1) Description and analysis of individual pages: Basic description: How would you describe this image to someone else? Describe images throughout the book.
2) Size and Shape: Imagine the image is being framed by a camera lens. Describe how it is zooming in or out on the subject. Describe the shape in relation to the frame. Is the subject cropped? Does it fill the frame, overlap the frame? Describe the relationship of positive to negative space - the subject (positive) to the space around it (the negative space.) Do the shapes overlap, fill the page. How do these design decision affect the story?
3) Color: Is the color homogenous (different shades of a similar color) or contrasting? How is color used to create emphasis, mood, cultural references Why is black and white used in relation to colour? What colours of the picture are your eyes drawn to?
4) Grouping: How are shapes grouped on the page to affect balance or instability? Are they crowded, evenly space, balanced, arranged horizontally, vertically? Are they arranged to create a pattern? Students can pick one or two pages.
5) Borders: Describe how borders are used. How do they relate to the story?
6) Juxtaposition of Words and images Juxtaposition is an important term when talking about the relational meaning created between two images or texts to create an intertext. Why would the illustrator put that word there? What does it add to the story?
Eg of questions: Describe the style of font and how this changes the meaning. Describe the placement of the text in relation to the image. How is the narrative interwoven with the pictures? What extra information is carried by the image that is not being communicated by the written text? What is the relationship of image to text? If there is no written text, how are images sequenced to create narrative? What details are important to create a compelling story that holds your interest?
7) How does the composition of images and text direct your eye to create interest and meaning through the flow or movement of images and text?
8) Point of view - vantage point. In your handouts, again imagine yourself behind a camera framing this picture. Where are you located in relation to the image? Is there a horizon line? Are you above, (bird’s eye), below (worm’s eye) or at eye level (standing)? Analyze the use of vantage point to create changes in the spatial relationship between you the reader and the action in the picture.
Whole book Analysis
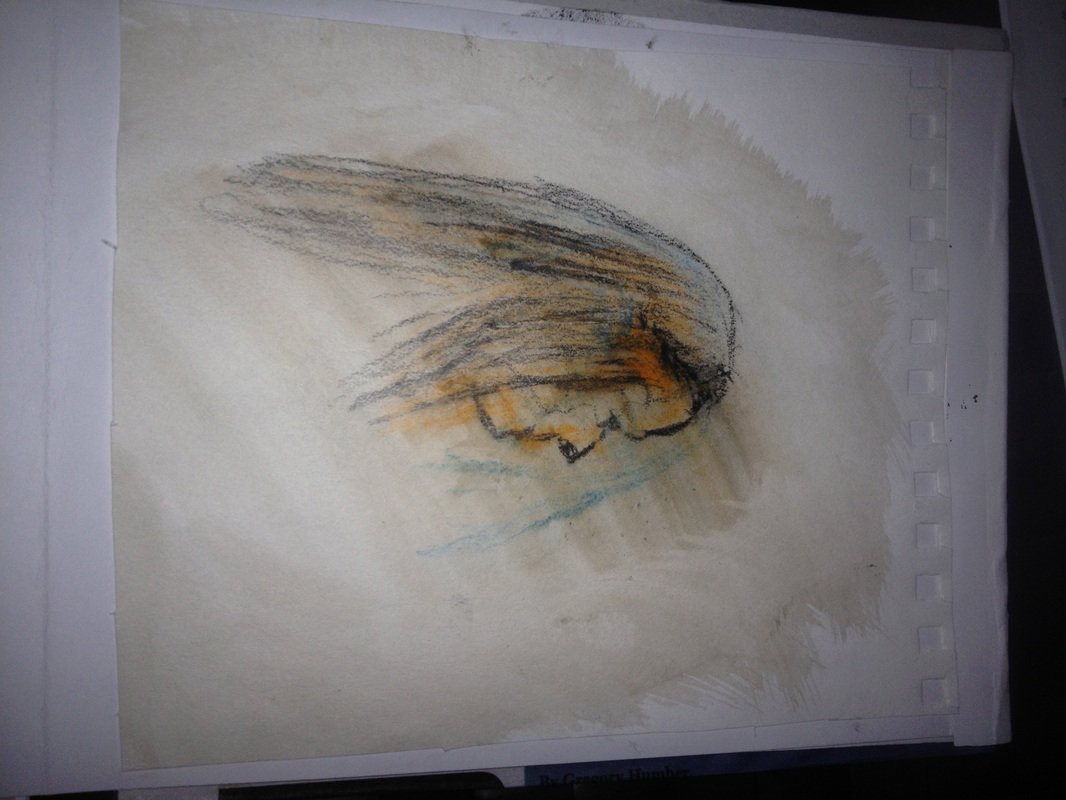
How would you analyze the author’s style? Did he/she have a particular way of drawing or painting? How did the use of materials hold your interest? How did they make you feel?
How is spatial movement created between frames or pages? Is there a flow or a jumpcut from one frame to the next? How are different viewpoints used to create variety and interest?
1. Interpretation Where did particular design decisions affect the meaning or mood of the story? How did the materials used affect the ideas or theme of the book?
2. Judgment What did you find more interesting: the story communicated in written text or through the illustrations?
Application
Intended Learner Outcomes:
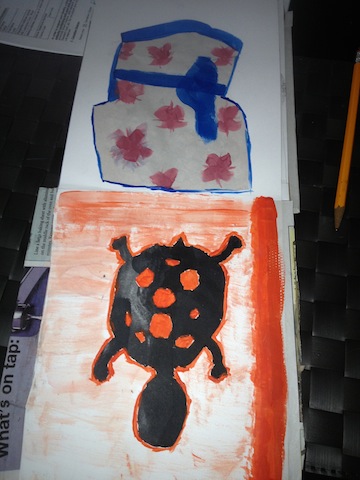
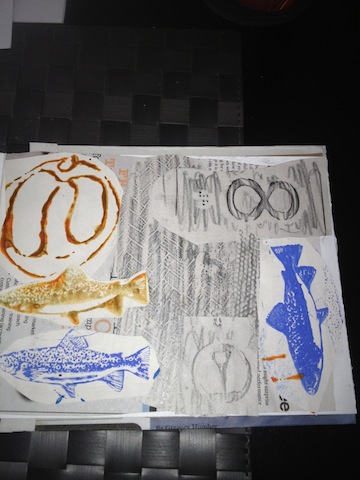
- You will model Eric Carl’s method of painting textures on paper using various materials to cut stencils. Fill at least 3 pages. One is to keep for your group and two are to trade with the other groups.
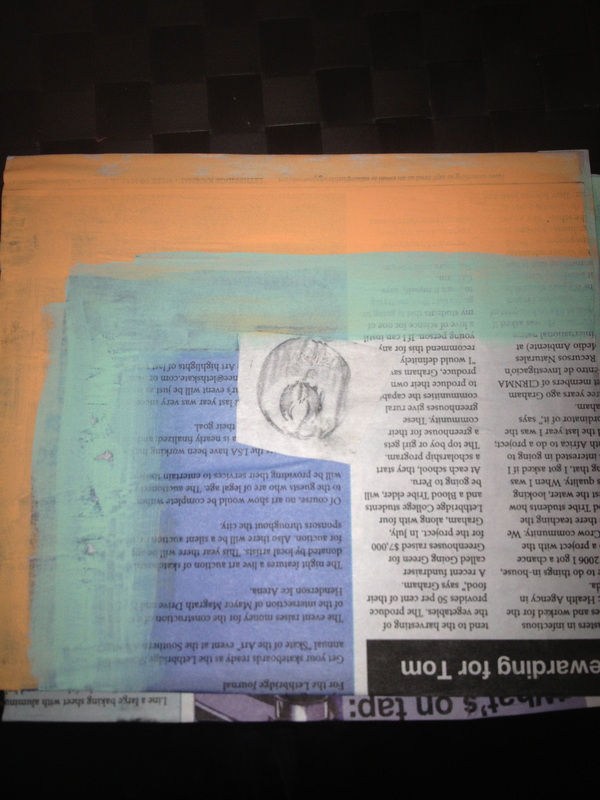
Center #1. Filling pages with watercolor washes of transparent layers or dry brush techniques.
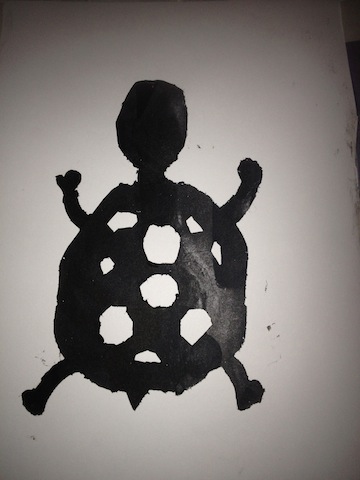
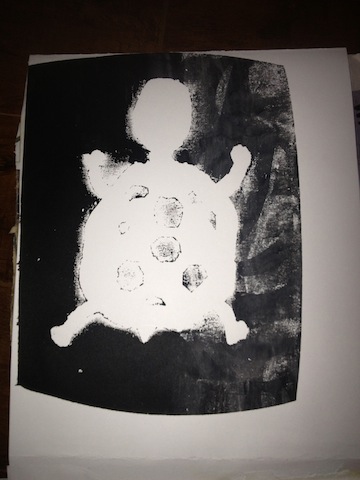
Center #2 Stamping with templates made of sponges and styrofoam on pads of ink and tempera paint (these are great to make in a different class as well, you can make a variety of shapes and characters, using either positive or negative space.
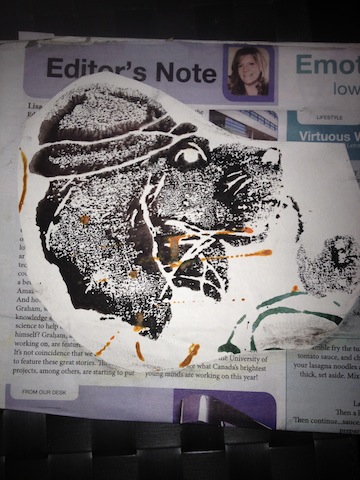
Center #3 Rubbings to create textures. Table with textured objects and various drawing tools to cover large pieces of paper with colored textures.
• Groups trade prints
• Each group is provided with scissors to cut the painted and printed paper into stencils to collage or print in accordion books.
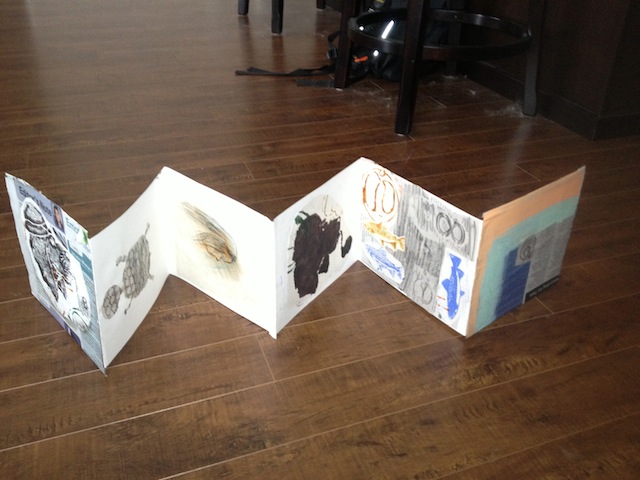
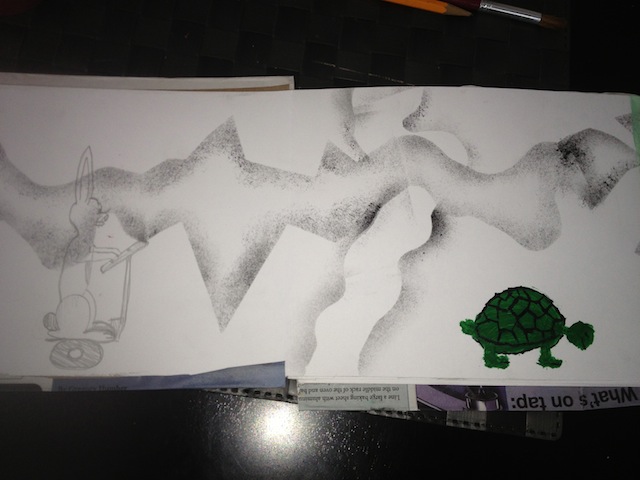
Due to the lack of time students will be given a different blank book structure. When doing this with children, have them create their own.
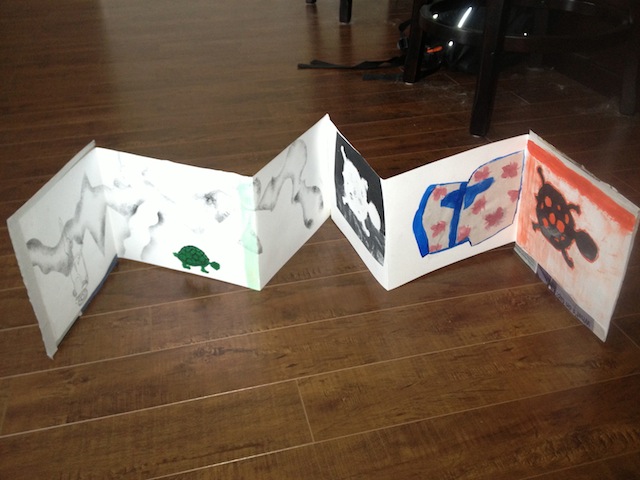
For this workshop each group will be given an accordion book that has 8 pages, including a foldout, cutout, and pop up. Two different structures will be created to compare how the structure of the book changes the story.
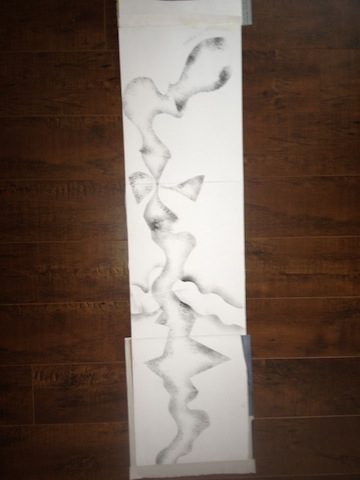
Storyboard preparation: As a group brainstorm on the board, different ideas for the books. What characters will be in your book? What setting?
On long strip of newsprint, quickly sketch a rough outline of the design ideas for your book, trying to incorporate some of the design strategies used in the picture books. For example, use more then one vantage point, different points of view (close-up to far away), framing devises, overlapping to create space and shapes, movement, grouping of subjects, color to create emphasis etc.
How would you analyze the author’s style? Did he/she have a particular way of drawing or painting? How did the use of materials hold your interest? How did they make you feel?
How is spatial movement created between frames or pages? Is there a flow or a jumpcut from one frame to the next? How are different viewpoints used to create variety and interest?
1. Interpretation Where did particular design decisions affect the meaning or mood of the story? How did the materials used affect the ideas or theme of the book?
2. Judgment What did you find more interesting: the story communicated in written text or through the illustrations?
Application
Intended Learner Outcomes:
- You will model Eric Carl’s method of painting textures on paper using various materials to cut stencils. Fill at least 3 pages. One is to keep for your group and two are to trade with the other groups.
Center #1. Filling pages with watercolor washes of transparent layers or dry brush techniques.
Center #2 Stamping with templates made of sponges and styrofoam on pads of ink and tempera paint (these are great to make in a different class as well, you can make a variety of shapes and characters, using either positive or negative space.
Center #3 Rubbings to create textures. Table with textured objects and various drawing tools to cover large pieces of paper with colored textures.
• Groups trade prints
• Each group is provided with scissors to cut the painted and printed paper into stencils to collage or print in accordion books.
Due to the lack of time students will be given a different blank book structure. When doing this with children, have them create their own.
For this workshop each group will be given an accordion book that has 8 pages, including a foldout, cutout, and pop up. Two different structures will be created to compare how the structure of the book changes the story.
Storyboard preparation: As a group brainstorm on the board, different ideas for the books. What characters will be in your book? What setting?
On long strip of newsprint, quickly sketch a rough outline of the design ideas for your book, trying to incorporate some of the design strategies used in the picture books. For example, use more then one vantage point, different points of view (close-up to far away), framing devises, overlapping to create space and shapes, movement, grouping of subjects, color to create emphasis etc.
Unit outline
Lesson one: In three groups, make about 15 pages of washes, printed, and textured paper as material for the books. Give two away and keep the rest for your group.
Lesson one: In three groups, make about 15 pages of washes, printed, and textured paper as material for the books. Give two away and keep the rest for your group.

Lesson two: Develop a children’s story for that specific age group. This story can be integrated with their social studies, come from their language arts, or made through improvisation in a Drama class, moving from improvisation to dialogue or story.
Lesson three: Make an accordion book and create the story with images using materials generated in lesson one. Keep the first and last page blank. (Students can also use other collage images from their image bank. An image bank is a collection of images kept in a shoebox and gathered throughout the year by each student.)
Lesson three: Make an accordion book and create the story with images using materials generated in lesson one. Keep the first and last page blank. (Students can also use other collage images from their image bank. An image bank is a collection of images kept in a shoebox and gathered throughout the year by each student.)
Lesson four: Typography. Show different uses of typography in books to show how type can be used as a graphic for the purpose of design and personal expression.
Lesson Five: Create a cover for the book by gluing the first and last page of the accordion on a piece of cardboard that is a bit large then the size of each page of the accordion. Every students book can be kept together and added to, or taken out and admired.
Lesson Five: Create a cover for the book by gluing the first and last page of the accordion on a piece of cardboard that is a bit large then the size of each page of the accordion. Every students book can be kept together and added to, or taken out and admired.